How to Install Warwickshire Slatted Fence Panels
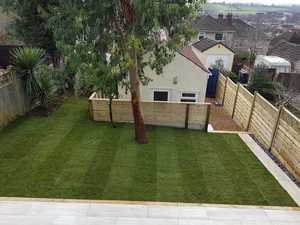
Installing Warwickshire slatted fence panels can greatly enhance the look of your garden with their sleek and contemporary aesthetic. Using treated softwood, they offer a mixture of style and durability — as well as providing added privacy and security with their unique double-sided design.
Treated softwood panels are pressure-treated to resist rot and decay, ensuring they last for many years. Below you’ll find a helpful guide for installing your Warwickshire fence panels, ensuring a smooth and efficient project to achieve a stylish and secure garden boundary.
What are the benefits of Warwickshire slatted fence panels?
Style, function, and security
Durability and longevity
Treated softwood Warwickshire panels are pressure-treated to resist rot and decay, which makes them an excellent long-term investment. This treatment ensures that the panels can withstand various weather conditions without deteriorating.
Aesthetic appeal
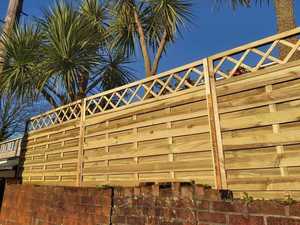
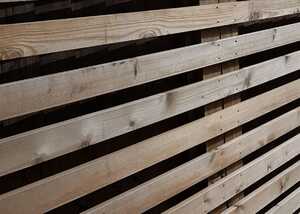
Warwickshire slatted fence panels feature a modern, double-slatted design that adds a contemporary touch to any garden. The design allows light and air to pass through, creating a pleasant environment while maintaining privacy.
Eco-friendly
Warwickshire slatted fence panels are eco-friendly, using sustainably sourced materials. Treated softwood panels are pressure-treated without harmful chemicals. This reduces environmental impact while providing stylish and durable fencing.
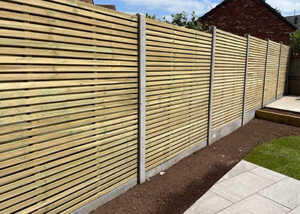
Step-by-Step installation guide
Everything you need to know
Tools and materials needed
Before starting, gather all necessary tools and materials. You will need Warwickshire slatted fence panels, fence posts, high-performance concrete such as Postmix, gravel boards (optional), a spirit level, tape measure, shovel or post hole digger, screws or nails, a drill or hammer, a string line, and protective gloves.
Plan your fence
Measure the boundary where you plan to install the fence. Mark the positions of the fence posts, ensuring they are evenly spaced. Typically, posts are placed 1.8m apart to accommodate the width of the panels.
Prepare the post holes
Use a shovel or post-hole digger to create holes for the fence posts. Each hole should be at least 60cm deep to provide stability. If using gravel boards, account for their height in your measurements.
Install the fence posts
Place a post in each hole, ensuring they are upright and aligned using a spirit level. Pour Postmix into the hole around the post, following the manufacturer’s instructions. Allow the concrete to set before proceeding.
Attach gravel boards (optional)
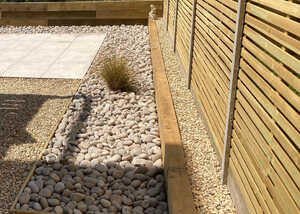
If using gravel boards, position them at the base of the posts. Secure them with screws or nails. Gravel boards protect the bottom of the fence panels from ground moisture and extend their lifespan.
Fix the fence panels
Once the posts are secure, attach the Warwickshire slatted fence panels. Lift the panel and position it between two posts. Ensure it is level, then secure it using screws or nails. Start from the bottom and work your way up, ensuring each panel is level before securing it fully.
Check alignment
After installing each panel, check the alignment using a string line stretched along the top of the posts. This helps ensure the panels are straight and level across the entire fence.
Finishing touches
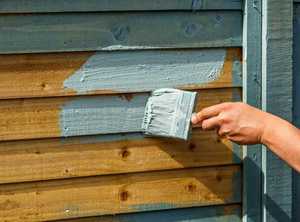
Inspect the fence for any gaps or loose panels. Make any necessary adjustments to ensure the fence is secure and aligned. If desired, apply a wood preservative or paint to enhance the fence’s appearance and longevity.
Planed Boards and Battens
For your consideration
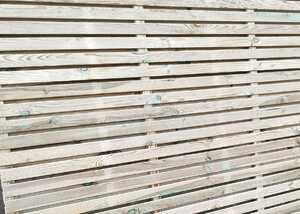
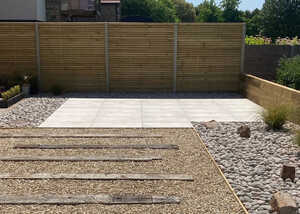
If you've got an uneven fence line or perhaps looking for a bit more of a tailored finish, planed boards and battens can be a great choice. These products offer precision and adaptability, and with a bit more time and attention to detail, you can achieve a truly custom look.
The smooth finish of planed boards and battens make them suitable for a range of garden designs, while their versatility make them perfect for irregular boundaries and for creating distinct zones in your gardens.
Crafted to last, planed all-round timber (PAR) boards and battens offer the same high quality and durability you expect from our fencing product range, while enhancing the overall aesthetic of your garden with their natural finish.
How can we help?
Fountain Timber is here to support you with all the professional advice and guidance needed to ensure your fencing project runs smoothly. With the right planning, materials, and care, your new fence will become a beautiful extension of your garden, providing years of enjoyment and added value.
As ever, this article shares insights and general advice with good intentions. Following this information is entirely at your discretion, and it's wise to consult a professional if uncertain. Should you need more help with your purchase, our team is here to assist you.
Fencing Advice
Fencing Gallery
View our Fencing Gallery for inspiration for your fencing project. Featuring a variety of styles and installation options from a selection of tradesmen.
Choosing Your Fencing
Fencing comes in a variety of styles and types, each with its own set of benefits depending on the function you need it to serve and deciding on the right one is not always easy.
Caring for Your Timber Fencing
Choosing good quality timber and taking a few basic steps to help protect it from the elements will give your fence the best chance of standing the test of time.


