Constructing Your Pergola

Follow this basic guide to create the perfect pergola for your garden
Before you start
- Do you need permission to erect a structure of this size?
- Check for utilities and any drainage problems
- If structure is near property ensure rain run off slopes away from property
- Clear the base area of grass, rubble etc.
- Check that the height of the finished building does not obstruct yours or neighbours view.
- Assemble all tools required as given in assembly instructions. Basic items required will be: spirit level, tape measure, string, plum line, screwdrivers, hammer, shuv holer for posts
- Lay out all the pieces of the project, ensuring all items required are easily identified, also all fittings are correct
- Wear suitable protective clothes, sturdy work boots, gloves and goggles if appropriate

Component List
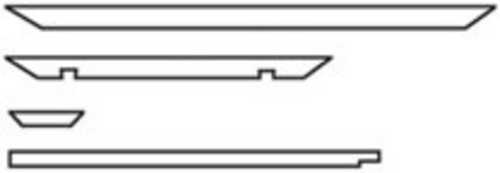
- 2 x A - 3.6m x 150 x 50mm
- 7 x B - 2.4m x 150 x 50mm
- 8 x C - 300mm x 100 x 50mm
- 4 x D - 2.7 - 3.0m x 100 x 100mm

The same principles apply whether you have ordered an “off the shelf” or “custom made” pergola. Please contact us if you experience any difficulties constructing your item.

Constructing Your Pergola
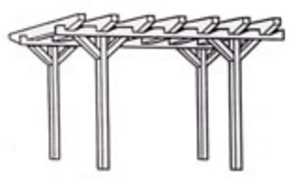
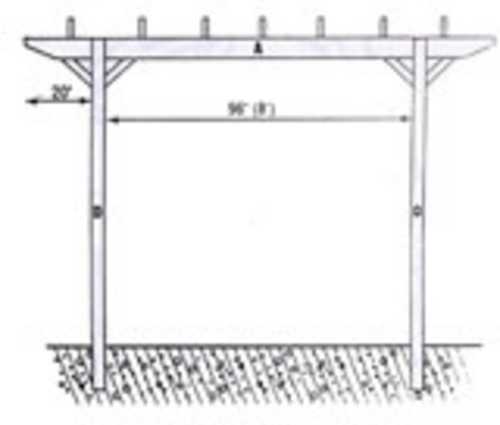
- Dig 4 holes in the ground at the corners of an 8 foot by 5 foot rectangle. The pergola is 5 foot wide by 8 foot deep so ensure you orient your rectangle correctly. Fix posts (D) into holes. You may wish to use a product such as PostMix to secure them in place.
- Fix 2 xA to 2 posts 20 inches in from the end. N.B. posts are on the outside of A.
- Level back and front of frame.
- Fix 7 x B spaced equally on top of A.
- ix 8 x C in corner positions as shown to add rigidity.
The information and advice in this article is provided in good faith and is designed to give general information and guidance. Any reliance you place on such information is therefore strictly at your own risk. If in doubt we strongly recommend you seek professional assistance.
If you need further advice with your purchase please ask our experienced staff, we will be happy to help!

